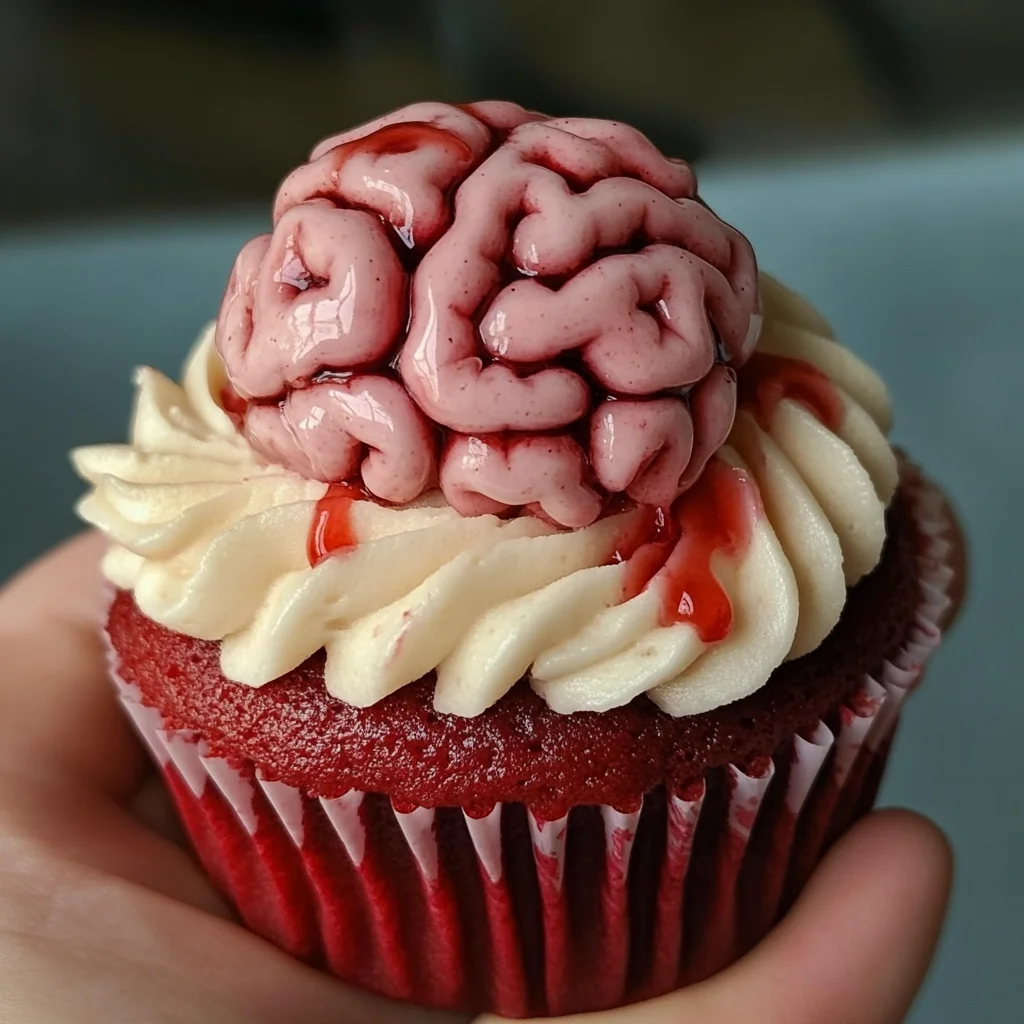
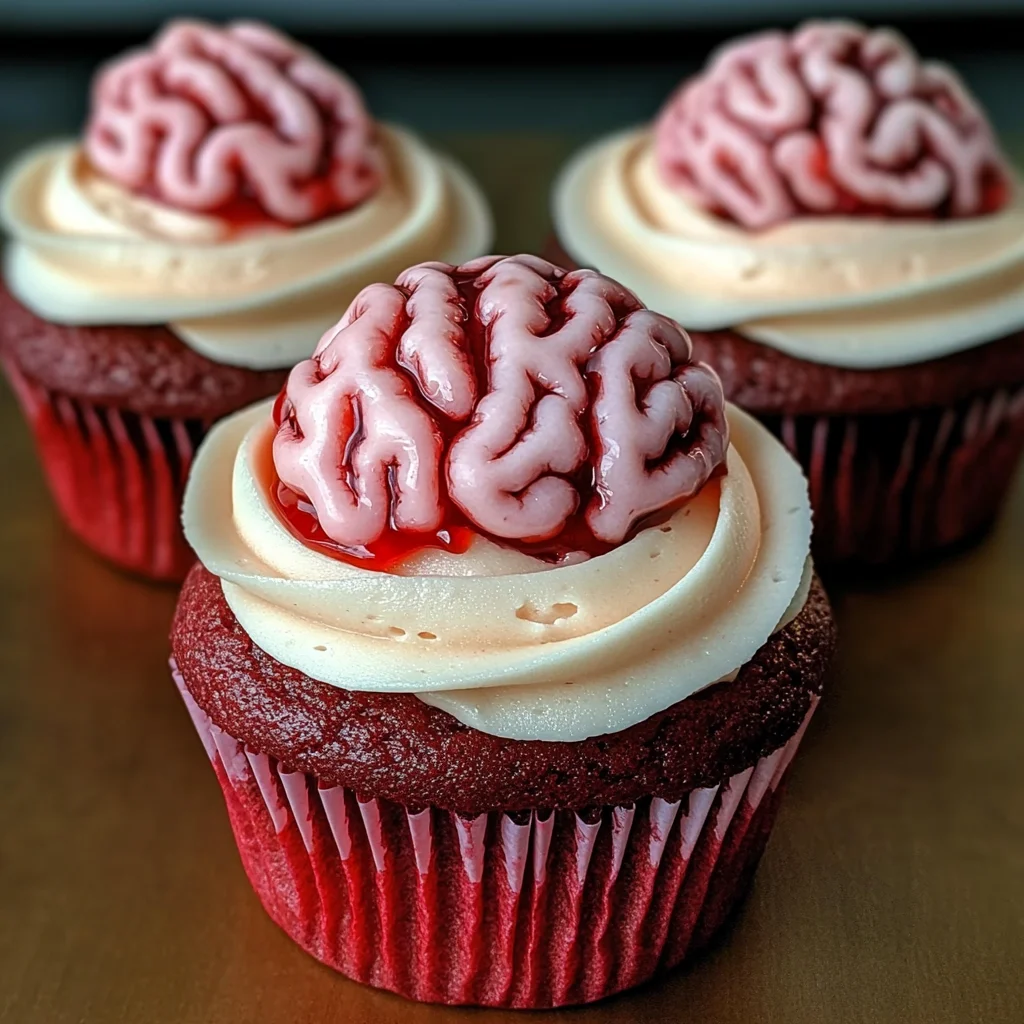
Bleeding Brain Cupcakes are not just a treat; they are an experience! Perfect for Halloween gatherings, these red velvet delights are filled with sweet jam and topped with a whimsical pink icing that resembles brains. Not only do they look amazing, but they also taste delicious, making them suitable for various occasions, from spooky parties to birthday celebrations.
Why You’ll Love This Recipe
- Eye-Catching Presentation: The unique brain-themed frosting makes these cupcakes a standout at any event.
- Deliciously Decadent Flavor: The combination of rich red velvet and fruity jam provides a mouthwatering taste.
- Fun to Make: Get the kids involved in the decorating process for a memorable baking session.
- Versatile Treat: Perfect for Halloween or any themed event, these cupcakes can be customized easily.
- Quick Preparation: With just 60 minutes total time, you can whip up these delightful cupcakes in no time.
Tools and Preparation
To create your Bleeding Brain Cupcakes, you will need some essential tools. Having the right equipment makes the baking process smoother and more enjoyable.
Essential Tools and Equipment
- Electric mixer
- Cupcake tin
- Black cupcake cases
- Mixing bowls
- Piping bag with nozzle
- Cupcake corer or knife
Importance of Each Tool
- Electric mixer: Ensures that your butter and sugar become perfectly fluffy, giving your cupcakes a light texture.
- Cupcake tin: Provides uniform baking space for your cupcakes, ensuring even cooking.
- Piping bag with nozzle: Allows for precise decoration, making it easy to achieve that brain-like effect with the icing.
Ingredients
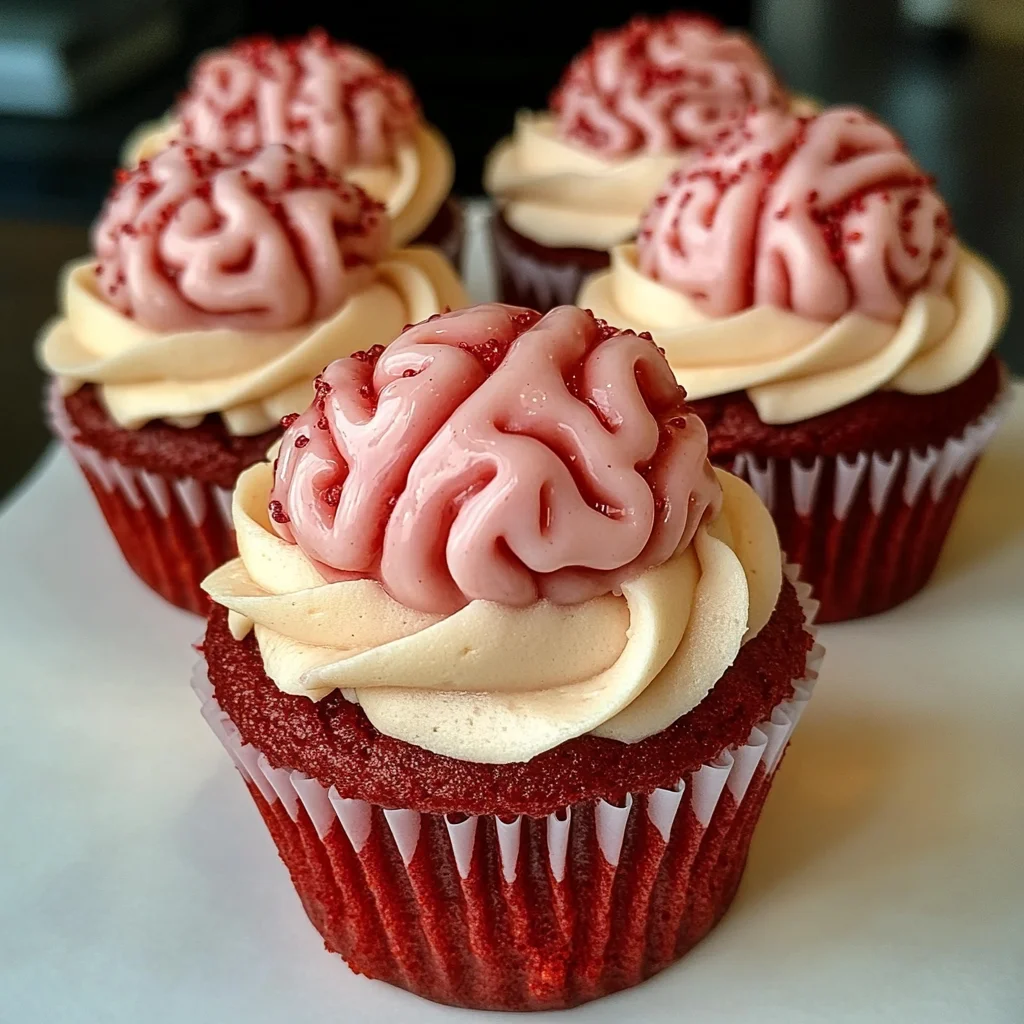
Red velvet cupcake, filled with jam, topped with brain themed pink icing – perfect for Halloween!
For the Cupcakes
- 150 g Butter or baking spread (softened, unsalted)
- 150 g Caster sugar
- 2 Eggs (large)
- 1 tsp Vanilla extract
- 85 ml Buttermilk
- 165 g Self raising flour
- 1 1/2 tbsp Cocoa powder
- 1/2 tsp Bicarbonate of soda
- 1 tsp Red food colouring (I use Pro Gel or Sugarflair)
- 200 g Strawberry or Raspberry Jam
For the Icing
- 200 g Butter (unsalted, softened)
- 400 g Icing sugar
- 1 tsp Vanilla extract
- 2 tbsp Milk
- Pink food colouring (I use Pro Gel or Sugarflair)
How to Make Bleeding Brain Cupcakes
Step 1: Preheat the Oven
Preheat your oven to 160C Fan/180C/350F/Gas Mark 4. Line a cupcake tin with black cupcake cases.
Step 2: Make the Batter
- In a mixing bowl, whisk together the butter and caster sugar until fluffy. An electric mixer works best here.
- Add in the eggs and vanilla extract; mix until well combined.
- Pour in the buttermilk along with cocoa powder, bicarbonate of soda, red food coloring, and self-raising flour. Mix until everything is combined smoothly.
Step 3: Bake the Cupcakes
- Divide the mixture evenly among the prepared cupcake cases.
- Bake in the preheated oven for 20–25 minutes. A skewer inserted into the center should come out clean when done.
- Allow them to cool fully on a cooling rack once removed from the oven.
Step 4: Fill with Jam
- When fully cool, use a cupcake corer or knife to make a hole in each cupcake’s center.
- Fill each hole generously with strawberry or raspberry jam using either a small spoon or piping bag.
Step 5: Prepare the Buttercream
- In a clean mixing bowl, beat the unsalted butter on its own for about two minutes until smooth.
- Gradually add icing sugar, milk, vanilla extract, and just a touch of pink food coloring. Mix until smooth but be careful not to over-color; aim for a pale pink hue.
Step 6: Decorate Your Cupcakes
- Transfer your buttercream into a piping bag fitted with a circular nozzle.
- Pipe a line down each cupcake’s center followed by squiggles on either side to create that brain effect.
Step 7: Storage
Keep your Bleeding Brain Cupcakes in an airtight container in a cool place and enjoy leftovers within three days!
How to Serve Bleeding Brain Cupcakes
Bleeding Brain Cupcakes are not just a treat; they’re a visual delight perfect for Halloween or any themed party. Here are some fun and creative ways to serve these spooky cupcakes.
Festive Display
- Arrange the cupcakes on a black or orange cake stand to enhance their Halloween theme.
- Use decorative skulls or cobwebs as accents on the table for added effect.
Pair with Spooky Beverages
- Serve with dark chocolate milkshakes or red fruit punch for a creepy drink combo.
- Consider adding gummy worms or eyeball candies to drinks for extra fun.
Create a Dessert Table
- Set up a dessert table with other Halloween-themed treats like ghost cookies or witch hat brownies.
- Label each item with spooky names for an engaging experience.
Gift Boxes
- Place individual cupcakes in small, themed boxes as party favors.
- Tie with black ribbon and add a tag that says “Bleeding Brain Cupcake” for a fun touch.
How to Perfect Bleeding Brain Cupcakes
Making Bleeding Brain Cupcakes can be simple if you follow a few key tips. Here’s how to elevate your baking game.
- Use Fresh Ingredients: Always use fresh eggs and butter for the best flavor and texture in your cupcakes.
- Don’t Overmix: Mix just until combined to ensure your cupcakes remain light and fluffy.
- Cool Completely: Make sure the cupcakes are fully cooled before filling them with jam and frosting; this prevents melting.
- Pipe Carefully: Practice piping techniques on parchment paper first to achieve the best brain design on your cupcakes.
- Adjust Color Gradually: When adding food coloring, start with a small amount and gradually increase to reach your desired shade.
Best Side Dishes for Bleeding Brain Cupcakes
Pairing side dishes with your Bleeding Brain Cupcakes can create a well-rounded Halloween feast. Here are some delightful options.
- Witch’s Brew Soup: A vibrant green soup made from pureed spinach and peas, served in cauldrons for an eerie effect.
- Mummy Hot Dogs: Wrap hot dogs in crescent roll dough, bake, and use mustard dots for eyes—fun finger food!
- Ghostly Guacamole Dip: Serve guacamole shaped like ghosts with tortilla chips for dipping; add sour cream eyes for an extra touch.
- Spider Deviled Eggs: Classic deviled eggs topped with olive slices arranged like spiders—creepy yet tasty!
- Pumpkin Patch Salad: A mixed green salad topped with candied pecans and orange slices; serve in pumpkin-shaped bowls.
- Creepy Cheese Platter: Include various cheeses shaped like bones, spiders, or pumpkins, paired with crackers and grapes.
- Black Cat Nachos: Layer black bean dip, cheese, and toppings on tortilla chips—spooky yet satisfying!
- Candy Corn Fruit Cups: Layer pineapple, mango, and whipped cream in clear cups mimicking candy corn colors—refreshing and sweet!
Common Mistakes to Avoid
When making Bleeding Brain Cupcakes, there are a few common pitfalls that can lead to less than perfect results. Here’s what to watch out for:
- Overmixing the batter – This can make your cupcakes dense and chewy. Mix until just combined to keep them light and fluffy.
- Skipping the cooling step – Filling warm cupcakes with jam can melt it away. Always let them cool completely before adding any filling.
- Ignoring the oven temperature – An incorrect setting can lead to uneven baking. Always preheat your oven properly for the best results.
- Using too much food coloring – Adding too much pink food coloring can overpower the flavor. Start with a little and add more as needed to achieve your desired shade.
- Not measuring ingredients accurately – Improper measurements can throw off the balance of flavors and textures. Use a kitchen scale for precision.
Storage & Reheating Instructions
Refrigerator Storage
- Store in an airtight container for up to 3 days.
- Keep in a cool part of your fridge to maintain freshness.
Freezing Bleeding Brain Cupcakes
- Wrap each cupcake tightly in plastic wrap and aluminum foil.
- They can be frozen for up to 2 months. Thaw in the refrigerator overnight before decorating.
Reheating Bleeding Brain Cupcakes
- Oven – Preheat to 160C/320F, wrap in foil, and warm for about 10 minutes.
- Microwave – Heat on medium power for 10-15 seconds until just warm.
- Stovetop – Place on a pan over low heat for a few minutes, flipping occasionally.
Frequently Asked Questions
Here are some common questions about Bleeding Brain Cupcakes:
What are Bleeding Brain Cupcakes?
Bleeding Brain Cupcakes are festive red velvet cupcakes filled with jam and topped with pink icing designed to look like brains, making them perfect for Halloween or themed parties.
Can I use different flavors of jam?
Yes! While strawberry or raspberry jam is traditional, feel free to experiment with other flavors like cherry or blackberry to suit your taste preferences.
How do I achieve the best brain effect with icing?
To create the brain effect, use a piping bag fitted with a round nozzle. Pipe a central line down the cupcake then add squiggles on either side for detail.
How can I customize my Bleeding Brain Cupcakes?
You can customize these cupcakes by changing the base flavor, using different fillings, or experimenting with various colors and decorations on top.
Can I make these cupcakes gluten-free?
Absolutely! Substitute self-raising flour with a gluten-free blend that includes baking powder and bicarbonate of soda for similar results.
Final Thoughts
Bleeding Brain Cupcakes are not only visually striking but also deliciously sweet, making them a perfect treat for Halloween or any festive occasion. With options for customization, you can create unique versions that cater to your guests’ tastes. Don’t hesitate to try this fun recipe; it’s sure to impress!

Bleeding Brain Cupcakes
- Total Time: 45 minutes
- Yield: Makes approximately 12 cupcakes 1x
Description
Bleeding Brain Cupcakes are a delightful and spooky treat perfect for Halloween celebrations or themed parties. These vibrant red velvet cupcakes are generously filled with fruity jam and topped with whimsical pink icing that mimics the appearance of brains. Not only do they capture attention with their unique design, but they also offer a delicious combination of flavors that will leave your guests craving more. Easy to make and fun to decorate, these cupcakes are sure to be a hit, whether you’re hosting a gathering or surprising friends with festive sweets.
Ingredients
- 150 g softened unsalted butter
- 150 g caster sugar
- 2 large eggs
- 1 tsp vanilla extract
- 85 ml buttermilk
- 165 g self-raising flour
- 1 ½ tbsp cocoa powder
- 1 tsp red food coloring
- 200 g strawberry or raspberry jam
- 200 g unsalted butter (for icing)
- 400 g icing sugar
- Pink food coloring
Instructions
- Preheat the oven to 160C Fan/180C/350F/Gas Mark 4 and line a cupcake tin with black cases.
- In a bowl, cream together butter and sugar until fluffy. Beat in eggs and vanilla.
- Mix in buttermilk, cocoa powder, baking soda, food coloring, and flour until smooth.
- Divide the batter into cupcake cases and bake for 20–25 minutes until a skewer comes out clean.
- Once cooled, core each cupcake and fill with jam.
- For icing, beat softened butter until smooth, gradually adding icing sugar, milk, vanilla, and pink food coloring until creamy.
- Pipe the icing onto the cupcakes to create a brain-like effect.
- Prep Time: 20 minutes
- Cook Time: 25 minutes
- Category: Dessert
- Method: Baking
- Cuisine: American
Nutrition
- Serving Size: 1 cupcake (75g)
- Calories: 339
- Sugar: 29g
- Sodium: 180mg
- Fat: 16g
- Saturated Fat: 10g
- Unsaturated Fat: 5g
- Trans Fat: 0g
- Carbohydrates: 44g
- Fiber: 1g
- Protein: 3g
- Cholesterol: 54mg
Keywords: Use fresh ingredients for the best flavor. Experiment with different jam flavors for unique variations. Let cupcakes cool completely before filling them to prevent melting.