
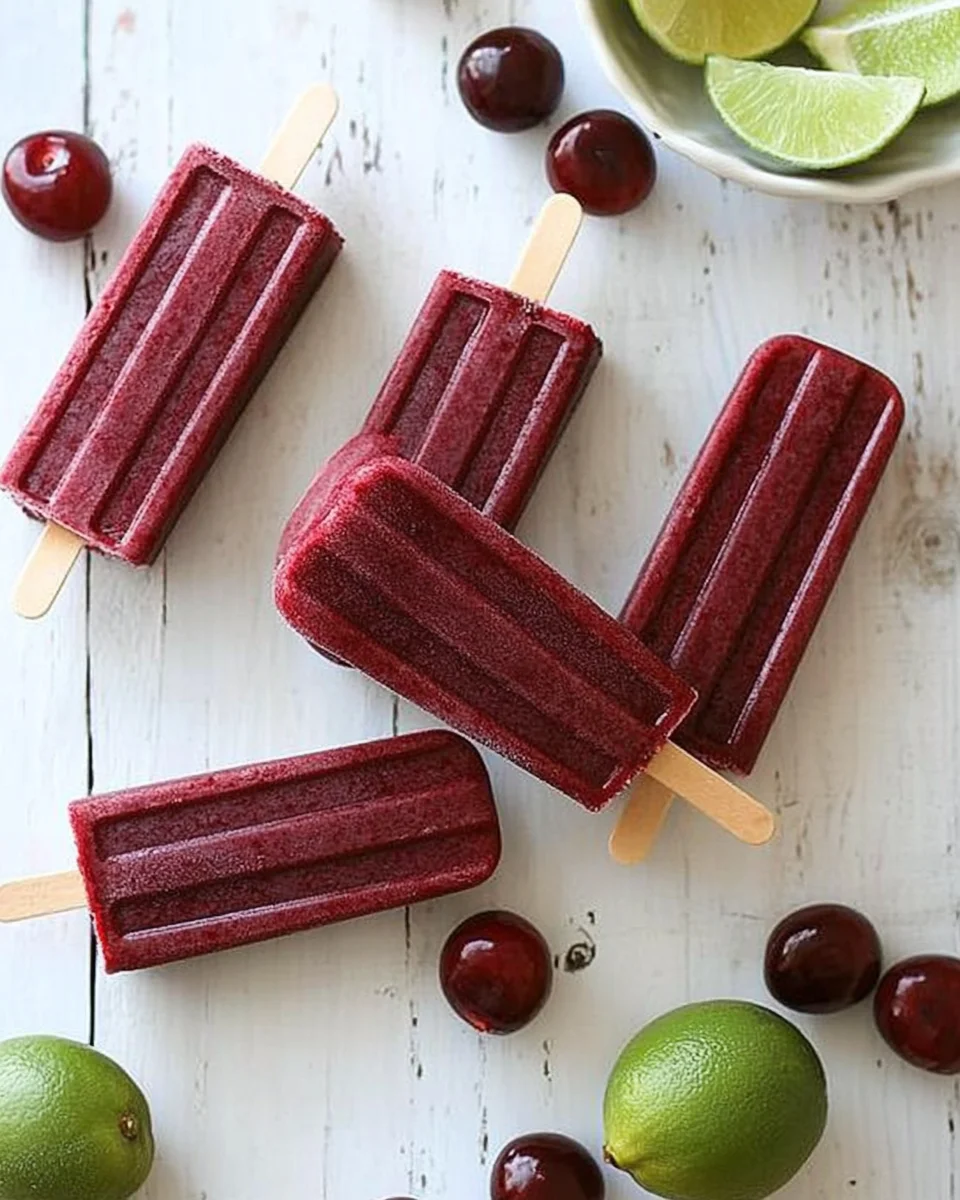
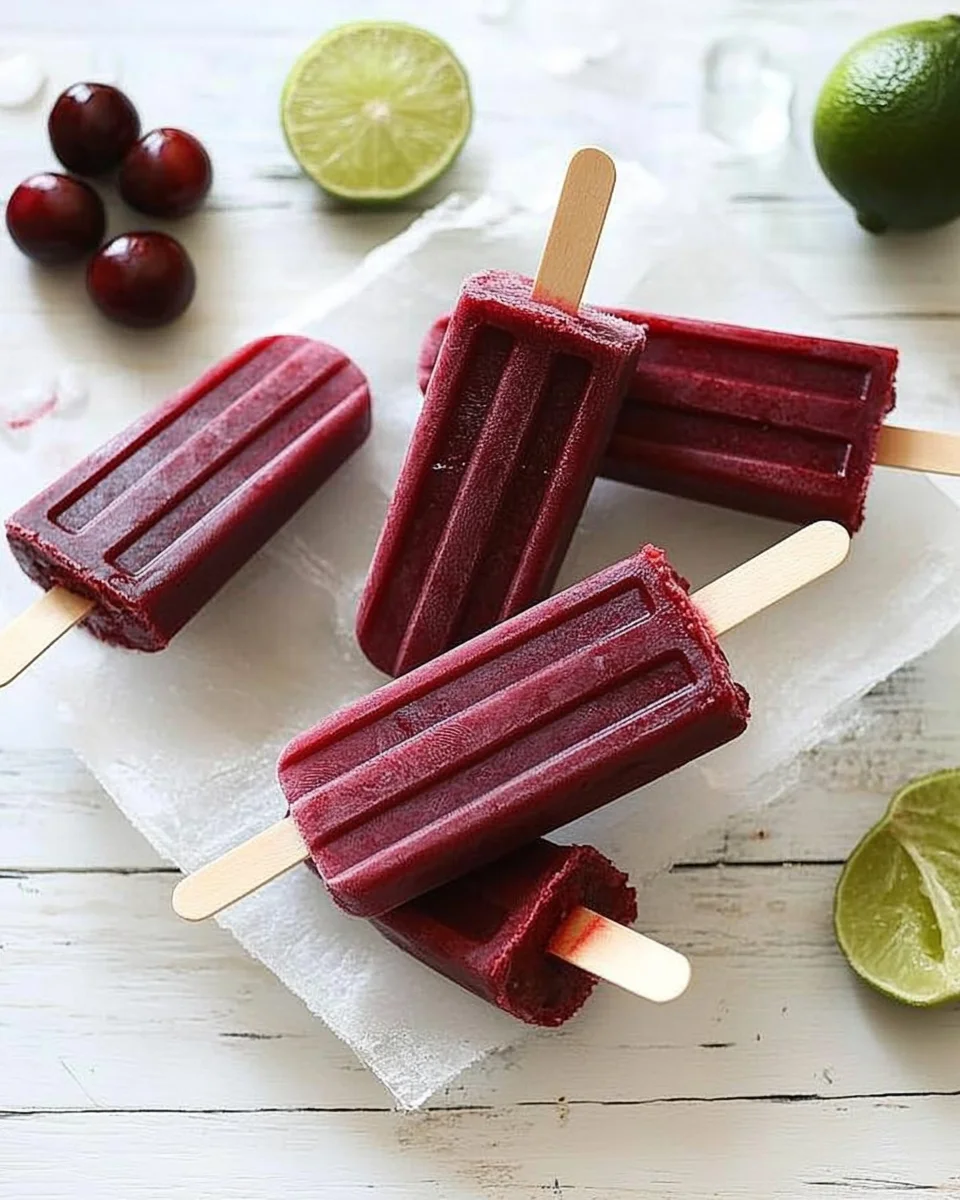
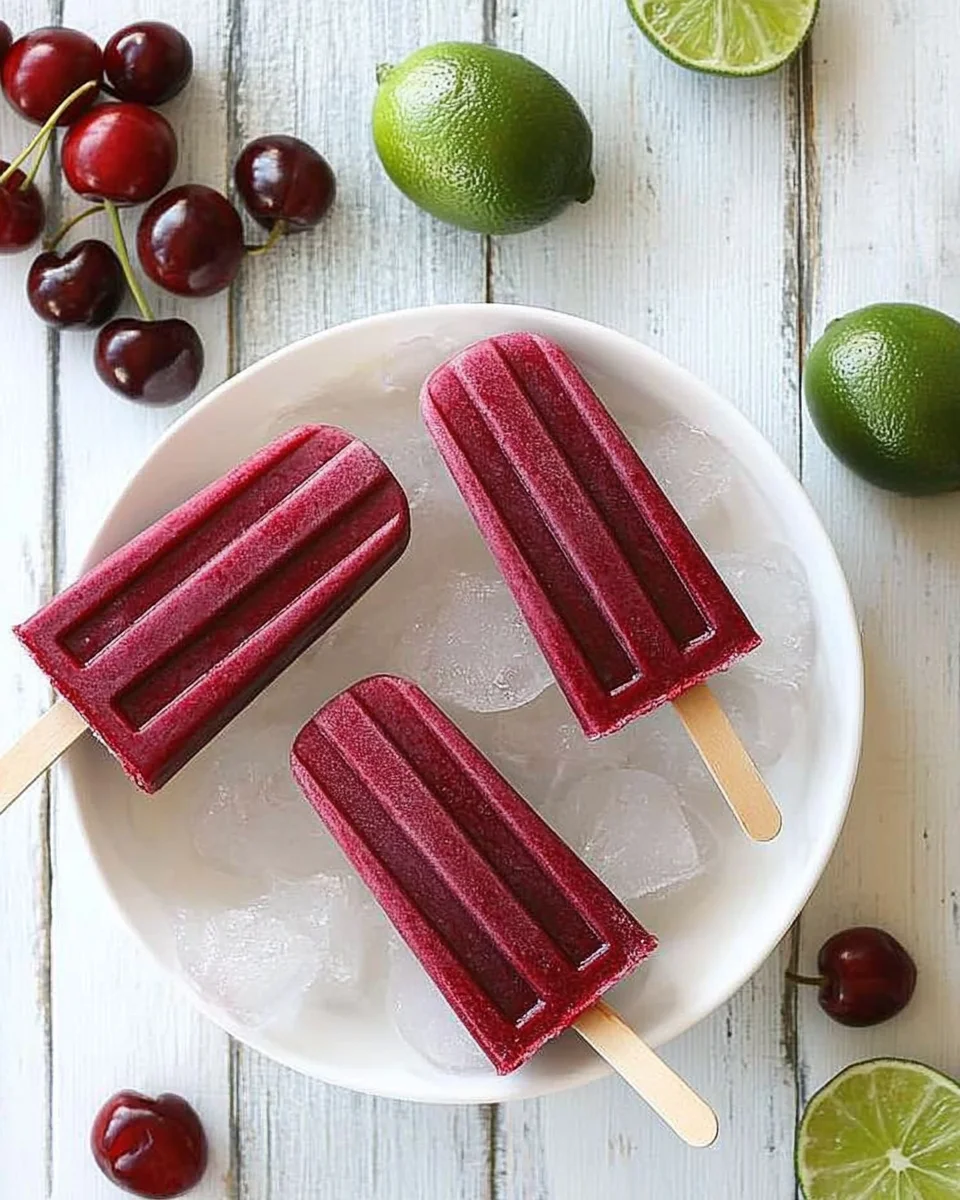
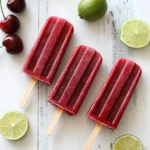
Cherry Lime Ice Pops are the ultimate summer treat, combining sweet cherries with a zesty touch of lime. This refreshing dessert is not only easy to make, but it’s also perfect for everything from backyard barbecues to poolside lounging. With only four ingredients, these homemade popsicles deliver vibrant flavors and a delightful cooling sensation on hot days. Everyone will love them!
Why You’ll Love This Recipe
- Easy Preparation: With just four simple ingredients, these ice pops come together in no time.
- Refreshing Flavor: The combination of sweet cherries and tangy lime creates a deliciously balanced taste.
- Healthier Option: Made with real fruit and minimal sugar, these pops are a guilt-free indulgence.
- Versatile Treat: Perfect for kids and adults alike, they work well for parties, gatherings, or a quiet evening at home.
- Make Ahead: Prepare them in advance and keep them frozen for whenever you crave a cool snack.
Tools and Preparation
Before you start making Cherry Lime Ice Pops, gather your tools. Having everything ready will make the process smooth and enjoyable.
Essential Tools and Equipment
- Ice pop molds
- Medium saucepan
- Fine sieve
- Blender or food processor
Importance of Each Tool
- Ice pop molds: These are essential for shaping your popsicles perfectly as they freeze.
- Medium saucepan: Ideal for cooking the cherries and combining your ingredients evenly.
- Fine sieve: This tool helps you achieve a smooth texture by removing any bits of cherry skin or pulp.
- Blender or food processor: Crucial for pureeing the mixture into a silky consistency.
Ingredients
For the Cherry Lime Ice Pops
- 1 lb cherries
- 1/2 cup water
- 1/4 cup sugar
- 3 tbsp fresh lime juice
How to Make Cherry Lime Ice Pops
Step 1: Prepare the Cherries
Start by stemming the cherries and removing their pits. If you have a cherry pitter, this task will be much easier.
Step 2: Cook the Mixture
In a medium saucepan over medium heat, combine the cherries, water, sugar, and lime juice. Cook until the cherries become soft and break down completely, about 10-15 minutes.
Step 3: Cool Down
Remove the saucepan from heat and let it cool to room temperature. This step is crucial before moving on to pureeing.
Step 4: Puree the Mixture
Once cooled, pour the cherry mixture into a blender or food processor. Blend until smooth. Then, strain it through a fine sieve to remove any solids.
Step 5: Freeze in Molds
Pour the smooth cherry-lime mixture into ice pop molds. Place them in the freezer for at least two hours until fully frozen.
Enjoy your delightful Cherry Lime Ice Pops during those sunny days!
How to Serve Cherry Lime Ice Pops
Cherry Lime Ice Pops are not only a delicious treat but also a versatile one. You can serve them in various ways to enhance your enjoyment. Here are some fun serving suggestions for these refreshing popsicles.
On a Hot Day
- Chill with Friends: Perfect for backyard barbecues or pool parties, serve these pops alongside refreshing drinks.
- Picnic Treats: Pack them in an insulated cooler for a sweet finish to your picnic lunch.
As a Dessert
- With Fresh Fruit: Pair the ice pops with sliced fruits like strawberries or kiwi for added freshness.
- On Top of Yogurt: Crumble the frozen pops over yogurt for a delightful dessert that combines textures.
For Kids’ Parties
- Colorful Displays: Arrange the Cherry Lime Ice Pops in vibrant colors on a cake stand to attract children’s attention.
- DIY Sundae Bar: Let kids create their own dessert by topping the ice pops with sprinkles and whipped cream.
How to Perfect Cherry Lime Ice Pops
Creating the perfect Cherry Lime Ice Pops is all about technique and ingredient quality. Here are some tips to ensure your treats turn out amazing every time.
- Choose Ripe Cherries: Select fresh, ripe cherries for the best flavor and sweetness in your pops.
- Adjust Sweetness: Taste the mixture before freezing; add more sugar if desired, based on cherry sweetness.
- Use Fresh Lime Juice: Always opt for fresh lime juice instead of bottled for a vibrant, zesty flavor.
- Blend Smoothly: Ensure you puree the cherries thoroughly for a smooth texture without any chunks.
- Freeze Completely: Allow adequate freezing time (at least 2 hours) so they set perfectly before serving.
- Store Properly: Keep any leftover pops in an airtight container to prevent freezer burn.
Best Side Dishes for Cherry Lime Ice Pops
Serving side dishes with your Cherry Lime Ice Pops can elevate your summer gathering. Here are some great options that complement these fruity treats.
- Grilled Veggies: Colorful grilled vegetables add a savory balance to the sweetness of the ice pops.
- Tortilla Chips and Salsa: The crunchiness of chips combined with zesty salsa offers a nice contrast to the cool pops.
- Caprese Skewers: Fresh mozzarella, tomatoes, and basil drizzled with balsamic glaze make for a refreshing appetizer.
- Fruit Salad: A mix of seasonal fruits will echo the flavors of your Cherry Lime Ice Pops while keeping things light.
- Cheese Platter: Include a variety of cheeses with crackers; this savory option pairs well with sweet desserts.
- Mini Sandwiches: Small sandwiches filled with fresh ingredients provide satisfying bites alongside chilled treats.
Common Mistakes to Avoid
Making Cherry Lime Ice Pops can be simple, but there are common pitfalls to watch out for.
- Not using ripe cherries: Always choose ripe, fresh cherries for the best flavor. Overripe or underripe fruit can ruin the taste of your pops.
- Skipping the pureeing step: Pureeing the cooked cherries helps create a smooth texture. Omitting this step may result in chunky popsicles.
- Not letting the mixture cool: Allowing the cherry mixture to cool before pouring it into molds is important. Pouring hot liquid into molds can cause them to warp and affect freezing.
- Freezing for less than 2 hours: To achieve a firm texture, freeze your pops for at least two hours. Shorter freezing times will lead to mushy pops.
- Ignoring lime juice measurements: Using too little or too much lime juice can alter the flavor balance. Stick to the recommended measurement for the best results.
Storage & Reheating Instructions
Refrigerator Storage
- Duration: Store in the refrigerator for up to 1 week.
- Containers: Use airtight containers to prevent freezer odors from affecting flavor.
Freezing Cherry Lime Ice Pops
- Duration: These pops can be frozen for up to 3 months.
- Containers: Keep in ice pop molds or transfer to a freezer-safe bag after they are fully frozen.
Reheating Cherry Lime Ice Pops
- Oven: Not recommended as these are frozen treats meant to be enjoyed cold.
- Microwave: Use for a few seconds on low power if you want a softer texture. Be careful not to melt them completely.
- Stovetop: Avoid reheating on the stovetop; these pops should remain frozen.
Frequently Asked Questions
Can I use frozen cherries for Cherry Lime Ice Pops?
Yes, you can use frozen cherries! Just ensure they are thawed and drained before cooking.
How can I customize my Cherry Lime Ice Pops?
You can add other fruits like strawberries or blueberries for extra flavor. Adjust lime juice based on your sweetness preference.
Are Cherry Lime Ice Pops healthy?
Absolutely! They are made with fresh fruit and minimal sugar, making them a healthy homemade treat.
How do I remove Cherry Lime Ice Pops from molds easily?
Run warm water over the outside of the molds for a few seconds. This will help loosen them without melting too much of the pop.
What if I don’t have ice pop molds?
You can use small cups and wooden sticks as an alternative! Just freeze until solid and insert sticks halfway through freezing.
Final Thoughts
Cherry Lime Ice Pops are a delightful summer treat that combines sweet cherries with zesty lime. They are easy to make and perfect for customizing with different fruits or flavors. Enjoy these refreshing pops on hot days, or serve them at parties as a fun dessert option. Don’t hesitate to experiment with ingredients to make this recipe truly yours!
Cherry Lime Ice Pops
- Total Time: 25 minutes
- Yield: Approximately 6 servings 1x
Description
Cherry Lime Ice Pops are the quintessential summer indulgence, merging the luscious sweetness of ripe cherries with a zesty splash of lime. These homemade popsicles are not just a refreshing treat; they are also remarkably simple to prepare with only four ingredients. Perfect for warm afternoons by the pool or lively backyard gatherings, Cherry Lime Ice Pops deliver vibrant flavors and a delightful cooling sensation that everyone will adore. With their healthier profile, made from fresh fruits and minimal sugar, you can enjoy these guilt-free delights anytime!
Ingredients
- 1 lb fresh cherries
- 1/2 cup water
- 1/4 cup sugar
- 3 tbsp fresh lime juice
Instructions
- Stem and pit the cherries using a cherry pitter for easier prep.
- In a medium saucepan over medium heat, combine cherries, water, sugar, and lime juice. Cook for 10-15 minutes until soft.
- Allow the mixture to cool to room temperature.
- Puree the mixture in a blender until smooth, then strain through a fine sieve.
- Pour into ice pop molds and freeze for at least two hours until solid.
- Prep Time: 10 minutes
- Cook Time: 15 minutes
- Category: Dessert
- Method: Freezing
- Cuisine: American
Nutrition
- Serving Size: 1 ice pop (75g)
- Calories: 50
- Sugar: 10g
- Sodium: 0mg
- Fat: 0g
- Saturated Fat: 0g
- Unsaturated Fat: 0g
- Trans Fat: 0g
- Carbohydrates: 12g
- Fiber: 1g
- Protein: 0g
- Cholesterol: 0mg
Keywords: Use ripe cherries for maximum sweetness and flavor. Adjust sugar based on your taste preferences and cherry sweetness. Experiment with additional fruits like strawberries or blueberries for varied flavors.