
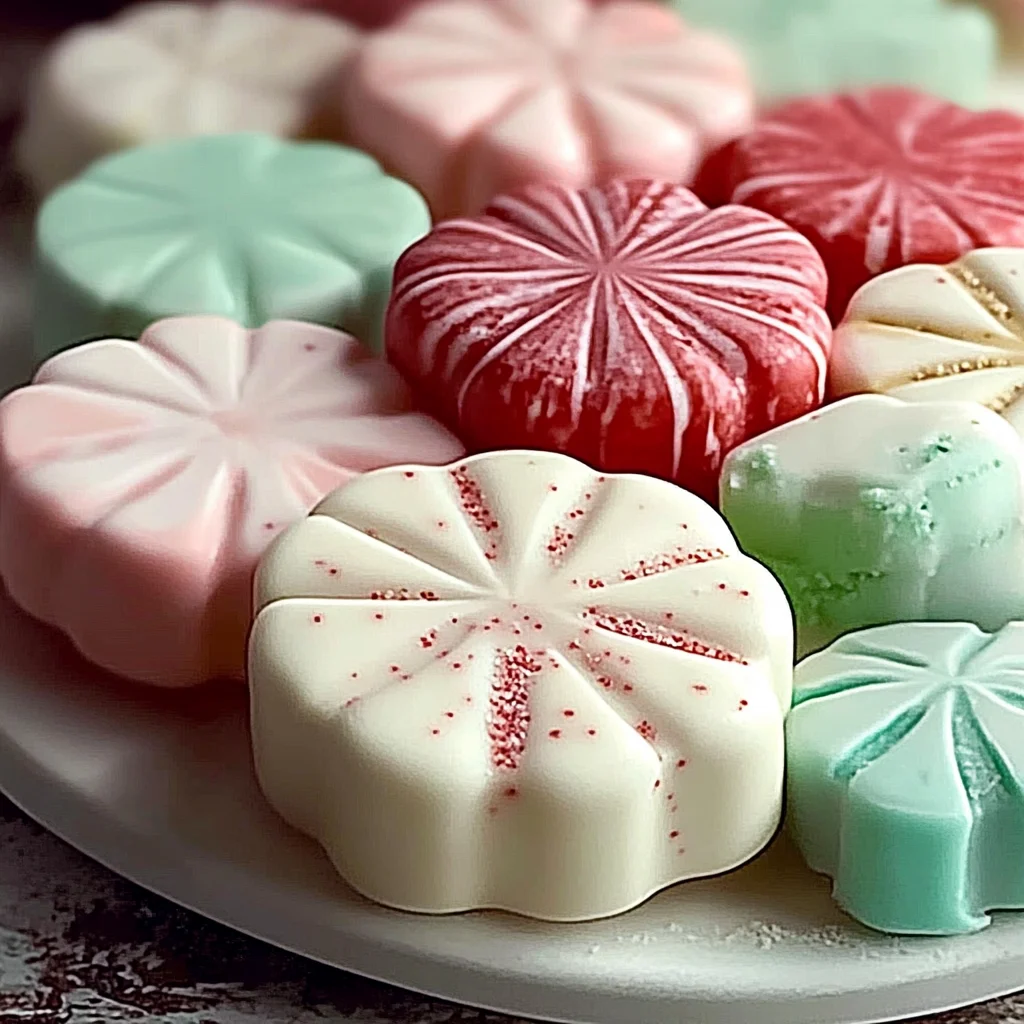
Sweet, creamy, and nostalgic—these Old-Fashioned Butter Mints are the perfect bite-sized treat for any celebration. Whether you’re looking for a quick holiday candy, easy party favor, or vintage dessert idea, these mints check all the boxes. With a melt-in-your-mouth texture and just a kiss of peppermint, they bring back fond memories of family gatherings and dessert tables. No baking required, minimal ingredients, and customizable colors make them ideal for anyone looking for a quick dessert or easy recipe to impress.
Why You’ll Love This Recipe
- Quick and Easy: With only a few simple steps, these mints can be made in no time.
- Customizable Flavors: Adjust the intensity of peppermint or add your favorite extracts.
- Perfect for Any Occasion: Great for holidays, weddings, or as delightful party favors.
- No Baking Required: Just mix, shape, and let them dry—simple enough for anyone!
- Large Batch: This recipe yields about 100 mints, perfect for sharing with friends and family.
Tools and Preparation
Before you start making your Old-Fashioned Butter Mints, gather the necessary tools. Having everything ready will streamline the process and make it more enjoyable.
Essential Tools and Equipment
- Mixing bowl
- Electric mixer (or whisk)
- Measuring cups
- Measuring spoons
- Scraper or knife
- Parchment paper
Importance of Each Tool
- Mixing bowl: A large mixing bowl provides ample space to combine all ingredients without mess.
- Electric mixer: This tool saves time when beating butter into a smooth consistency compared to whisking by hand.
- Scraper or knife: Essential for cutting the dough into bite-sized pieces accurately.
Ingredients
For the Mints
- 1/2 cup unsalted butter, softened
- 4 cups powdered sugar
- 1 tablespoon heavy cream or milk
- 1/2 teaspoon peppermint extract
- 1 pinch salt
- gel food coloring (optional)
How to Make Old-Fashioned Butter Mints
Step 1: Beat the Butter
Start by beating the softened butter in a large mixing bowl until smooth and creamy. This step is crucial for achieving that melt-in-your-mouth texture.
Step 2: Add Flavorings
Add the peppermint extract, salt, and cream to the butter mixture. Mix well until combined. The addition of these ingredients enhances the flavor profile of your mints.
Step 3: Incorporate Sugar
Gradually mix in the powdered sugar until a soft dough forms. This may take some time as you want to ensure that there are no lumps in your mixture.
Step 4: Color Your Dough
If you wish to use coloring, divide the dough into portions and knead in gel food coloring until you achieve your desired shades.
Step 5: Shape the Mints
Roll each portion of dough into thin ropes on a powdered sugar-dusted surface. Keeping them thin will help them dry faster.
Step 6: Cut into Pieces
Using your scraper or knife, cut the ropes into bite-sized pieces. Aim for uniform sizes so that they dry evenly.
Step 7: Drying Time
Spread the mints on parchment paper and allow them to dry at room temperature for about 8 hours or overnight. This step is essential to achieve that perfect texture!
Enjoy making these delightful Old-Fashioned Butter Mints—they’re sure to be a hit at any gathering!
How to Serve Old-Fashioned Butter Mints
These delightful Old-Fashioned Butter Mints are versatile treats that can be enjoyed in various ways. Whether you’re adding a sweet touch to a special occasion or simply indulging in a nostalgic snack, here are some great serving suggestions.
As Party Favors
- Wrap individual mints in colorful cellophane and tie with a ribbon for a charming party favor that guests will love.
On Dessert Tables
- Arrange mints on a decorative platter alongside other sweets to create an inviting dessert table that sparks joy and nostalgia.
In Gift Baskets
- Include these mints in homemade gift baskets for holidays or special occasions, adding a personal touch to your thoughtful gifts.
With Coffee or Tea
- Serve alongside warm beverages for a refreshing contrast that enhances the flavor of your drink during afternoon gatherings.
At Weddings
- Offer mints as a charming addition to wedding receptions, either at each place setting or as part of a candy buffet for guests to enjoy.
For Holiday Celebrations
- Present them as part of your holiday spread; their pastel colors and minty flavor make them perfect for festive occasions.
How to Perfect Old-Fashioned Butter Mints
To ensure your Old-Fashioned Butter Mints turn out perfectly every time, consider these helpful tips.
-
Use room temperature butter: Softened butter mixes more easily with sugar, leading to a smoother dough and better texture.
-
Sift powdered sugar: This helps remove any lumps and ensures an even mixture, resulting in creamier mints.
-
Flavor adjustments: Feel free to experiment with different extracts like vanilla or almond for unique flavor variations beyond peppermint.
-
Knead coloring well: When adding food coloring, knead thoroughly to ensure even distribution for vibrant, eye-catching mints.
-
Proper drying time: Allow the mints to dry completely at room temperature; this helps achieve the right texture and prevents them from sticking together.
-
Store properly: Keep the mints in an airtight container at room temperature to maintain their freshness and prevent them from becoming too hard.
Best Side Dishes for Old-Fashioned Butter Mints
While Old-Fashioned Butter Mints can stand alone as a sweet treat, pairing them with some delightful side dishes can enhance your dessert experience. Here are some great options:
-
Fruit Salad: A light and refreshing mix of seasonal fruits balances the sweetness of the mints perfectly.
-
Cheese Platter: A selection of mild cheeses complements the creamy texture of the mints while providing savory contrast.
-
Chocolate-Dipped Strawberries: Sweet and decadent, these berries add elegance and indulgence to your dessert spread.
-
Mini Cupcakes: Offer bite-sized cupcakes with light flavors like vanilla or lemon; they pair wonderfully with minty treats.
-
Nut Mix: A blend of lightly salted nuts provides crunch and richness, making it an excellent companion alongside sweet candies.
-
Coffee Cake: Serve moist coffee cake slices for a comforting dessert option that harmonizes well with buttery mints.
-
Ice Cream Float: A fizzy drink topped with ice cream creates a fun dessert experience that’s sure to please guests of all ages.
-
Pudding Cups: Individual servings of creamy pudding add variety and can be flavored differently to suit everyone’s taste preferences.
Common Mistakes to Avoid
Making Old-Fashioned Butter Mints can be straightforward, but there are a few common pitfalls that can affect your results. Here are some mistakes to watch out for:
-
Skipping the butter softening step: Always ensure your butter is softened at room temperature. Hard butter will not blend smoothly, affecting the texture of your mints.
-
Not measuring powdered sugar accurately: Use a proper measuring cup and level off the sugar. Too much sugar can make the dough too stiff and hard to work with.
-
Ignoring the resting time: Allowing mints to dry at room temperature for a full 8 hours or overnight is essential. Skipping this step can result in a sticky texture.
-
Using too much peppermint extract: Stick to the measurement provided in the recipe. Overdoing it can lead to an overpowering mint flavor that can be unpleasant.
-
Neglecting cleanliness during preparation: Keep your workspace clean and free from excess powdered sugar. This ensures your mints maintain their intended shape and appearance.
Storage & Reheating Instructions
Refrigerator Storage
- Store in an airtight container.
- They will last for up to 2 weeks in the fridge.
- Place parchment paper between layers to prevent sticking.
Freezing Old-Fashioned Butter Mints
- Freeze in an airtight container for up to 3 months.
- Use wax paper between layers in the container.
- Allow them to thaw at room temperature before serving.
Reheating Old-Fashioned Butter Mints
- Oven: Preheat to 200°F (93°C) and place mints on a baking sheet for 5 minutes to soften slightly.
- Microwave: Heat on low power for 5-10 seconds, checking frequently to avoid melting.
- Stovetop: Not recommended as they may melt too quickly.
Frequently Asked Questions
Many people have questions about making these delightful mints. Here are some of the most common queries:
What are Old-Fashioned Butter Mints?
Old-Fashioned Butter Mints are sweet, creamy candies with a light peppermint flavor, reminiscent of classic family gatherings and celebrations.
Can I customize the color of my Old-Fashioned Butter Mints?
Yes! You can easily add gel food coloring during the mixing process to create pastel shades that suit your event or personal preference.
How do I make Old-Fashioned Butter Mints vegan?
To make these mints vegan, substitute unsalted butter with plant-based butter and use non-dairy milk instead of heavy cream.
How long do Old-Fashioned Butter Mints last?
When stored properly, these mints can last up to two weeks in the refrigerator or three months in the freezer without losing flavor or texture.
Final Thoughts
Old-Fashioned Butter Mints are not just a treat; they’re a nostalgic reminder of happy times shared with loved ones. Their simplicity allows for easy customization, whether through color or flavor variations. Give this recipe a try, and enjoy creating delightful memories with every mint you make!
Old-Fashioned Butter Mints
- Total Time: 48 minute
- Yield: Approximately 100 mints 1x
Description
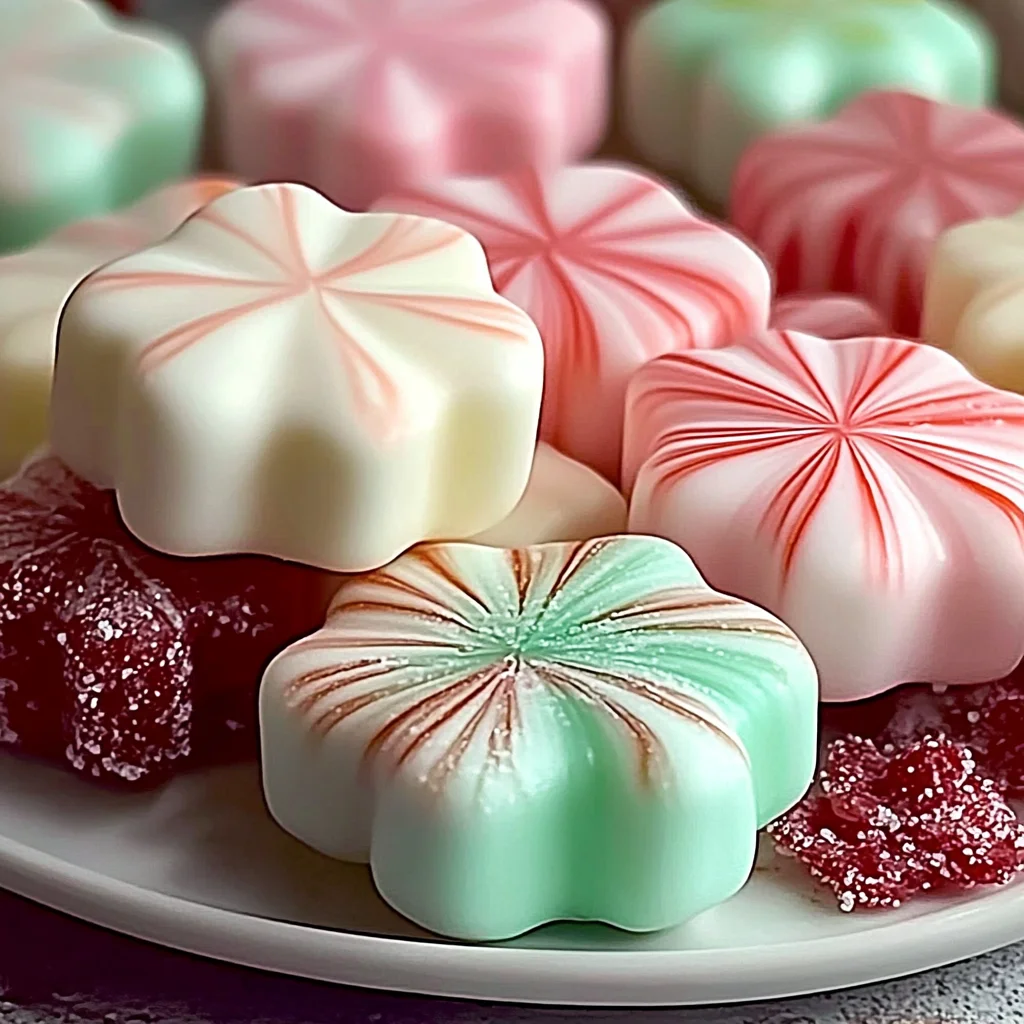
Sweet and creamy, Old-Fashioned Butter Mints evoke nostalgia with every delightful bite. These melt-in-your-mouth candies are perfect for any celebration, whether as a holiday treat or charming party favors. With minimal ingredients and no baking required, they are easy to whip up and can be customized in both flavor and color. Imagine presenting these pastel beauties on your dessert table or gifting them in decorative packaging—each mint brings warmth to gatherings, making them a cherished addition to any occasion.
Ingredients
- 1/2 cup unsalted butter, softened
- 4 cups powdered sugar
- 1 tablespoon heavy cream or milk
- 1/2 teaspoon peppermint extract
- 1 pinch salt
- Gel food coloring (optional)
Instructions
- Beat the softened butter in a large mixing bowl until smooth and creamy.
- Add the peppermint extract, salt, and cream; mix well until combined.
- Gradually incorporate the powdered sugar until a soft dough forms.
- If using, divide the dough and knead in gel food coloring to achieve desired shades.
- Roll each portion into thin ropes on a powdered sugar-dusted surface.
- Cut the ropes into bite-sized pieces using a scraper or knife.
- Spread the mints on parchment paper and allow them to dry at room temperature for about 8 hours or overnight.
- Prep Time: 15 minutes
- Cook Time: None
- Category: Dessert
- Method: No baking required
- Cuisine: American
Nutrition
- Serving Size: 1 mint (5g)
- Calories: 20
- Sugar: 4g
- Sodium: 0mg
- Fat: 1g
- Saturated Fat: 0.5g
- Unsaturated Fat: 0.5g
- Trans Fat: 0g
- Carbohydrates: 4g
- Fiber: 0g
- Protein: <1g
- Cholesterol: 3mg
Keywords: Use room temperature butter for easier mixing. Sift powdered sugar to ensure a smooth texture. Feel free to experiment with different extracts for unique flavors beyond peppermint.